Custom Email Domain using iCloud+ and Cloudflare DNS
What’s a custom email domain?
A custom email domain is the part of the email address after the @ character.
If our email address is [email protected], the email domain is the
@gmail.com part.
Why a custom email domain?
Curate your professional “brand”
Using your own email domain makes you stand out from others. As a tech professional, having your own email domain shows you care about your professional “brand” and know a little something about DNS.
Find out who’s selling your data
With a custom email domain, you can use a different email addresses for each service you sign up for. This works by configuring your email address to be a catch-all address.
For example, when signing up for Wikipedia, I may sign up with the email
[email protected].
Then, if I (hypothetically) receive spam to my [email protected]
account, it’s easy to determine Wikipedia sold my data.
Have control over your email
With a custom email domain, you’re in control of your email. This allows you to move freely between email hosts while keeping the same email address.
If Apple does something I don’t like, I can freely move to a different host by changing my DNS settings. My email address stays the same so I don’t need to migrate my accounts to a new email address.
If I were to use an @gmail.com email, then I’m stuck using gmail forever. The
only way to get away from gmail is to create a different email address on
another service.
How to configure a custom email domain
What you need
You need a domain (I use Cloudflare) and an email host. iCloud+ includes custom email domains with your iCloud+ subscription. With this approach, your email us hosted with iCloud mail.
Configuring DNS
Apple has thorough docs on adding a custom email domain to your iCloud account. I won’t walk through the setup step by step but I will show how to configure your DNS with Cloudflare.
The problem with iCloud’s email DNS config
The tricky part of this setup was the way iCloud configures your CNAME DNS record. I use Cloudflare Pages to host this site so I already had two CNAME records in my DNS settings:

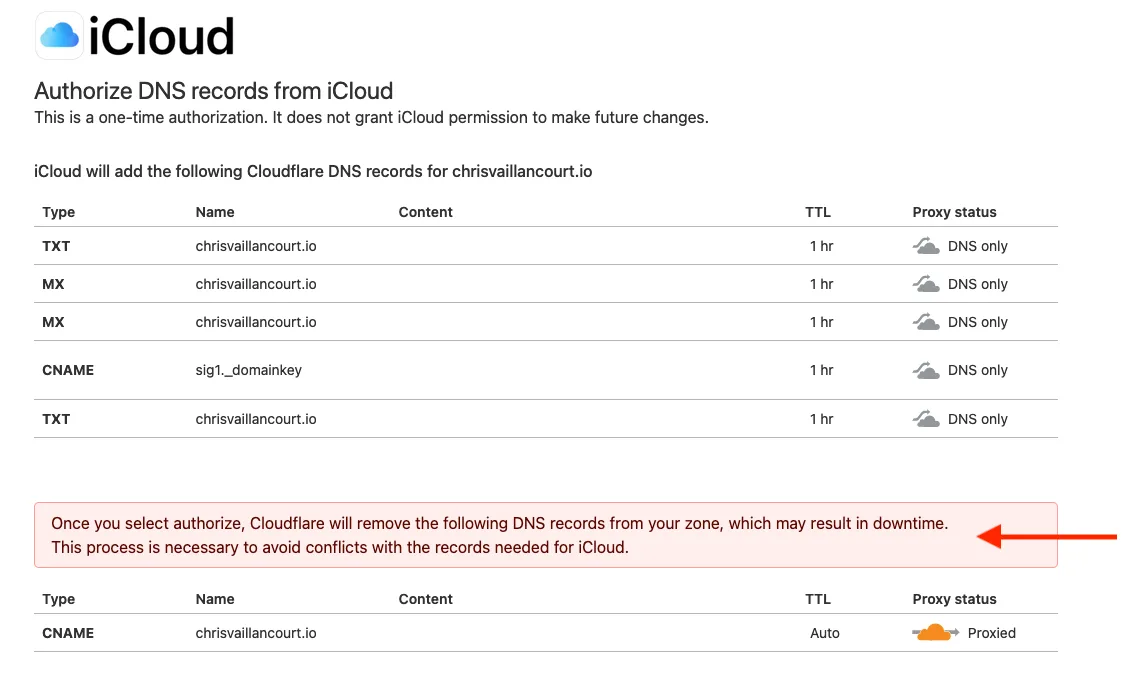
During the iCloud email domain setup, they wanted to make changes to my DNS records, specifically removing my chrisvaillancourt.io CNAME record 😮:

With iCloud’s configuration, I wouldn’t be able to access this site with chrisvaillancourt.io 😞.
Fixing iCloud’s email DNS config
The iCloud setup doesn’t provide a mechanism to pick and choose which records to add so we have to accept their config to complete the setup.
With these DNS records, I could receive and send email with my
@chrisvaillancourt.io domain 🥳 but I couldn’t navigate to this website at
chrisvaillancourt.io 😭.
Thankfully, we aren’t stuck with our new DNS configuration. All we need to do is add back the CNAME record that iCloud removed during the email DNS setup:

I’m not sure why iCloud does this but I haven’t had any DNS issues after adding back the original CNAME record.
Configuring a catch-all email address
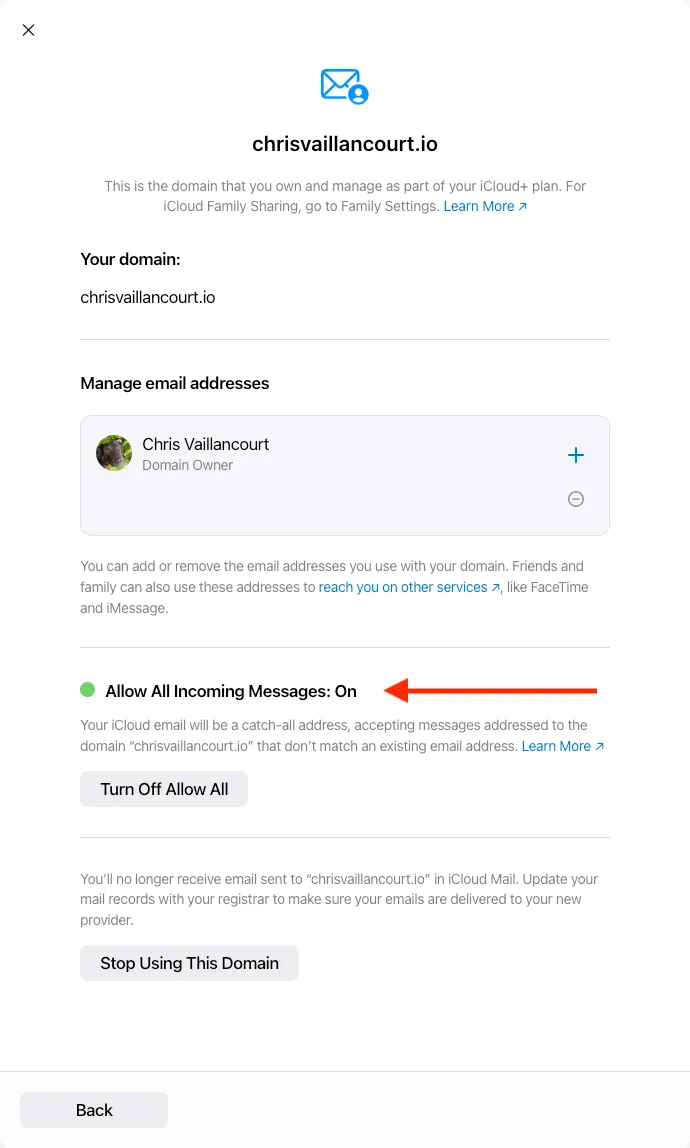
iCloud allows you to configure a “catch-all” email address for your new email domain. This allows us to have as many email addresses as we want for our email domain.
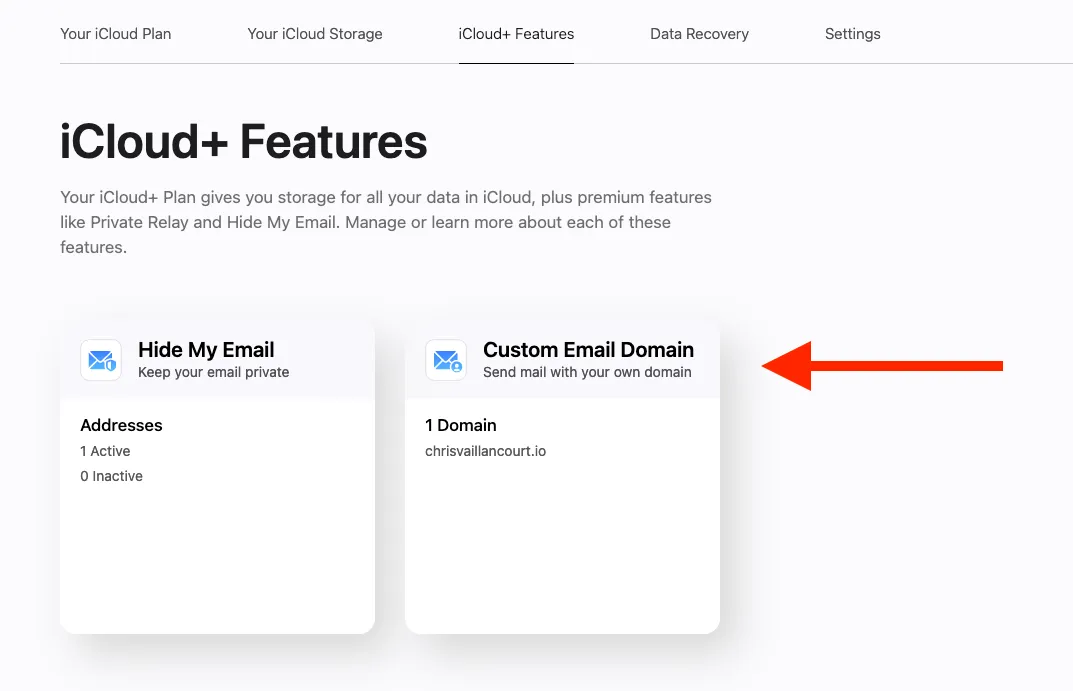
To do this, navigate to the iCloud+ Features page. Then, click on the “Custom Email Domain” card:

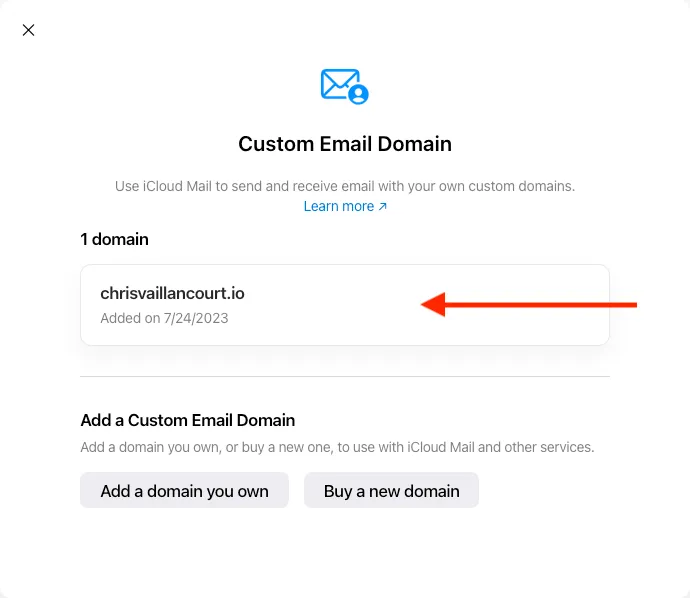
Click on the card and select the domain:

Then, select the option to “Allow All Incoming Messages”:

Now you’ll receive any email sent to your email domain 🚀.